

In the past, when I worked exclusively in acrylics, I would start by diving right into a blank canvas with what could only be described as a hurried frenzy of thick paint blending together on the canvas. I rushed through paintings, sometimes setting a timer.
My most popular pieces (judged by sales) were completed in 15 minutes.
Fast forward to my new interest in oils. Although I've been using oils less than a year, I am thoroughly and wholeheartedly a fan, eager to learn more and more. At first I hated oils, mostly due to my having not worked with them. The drying time was the most difficult thing to get used to.
I discovered Liquin

Whereas, with acrylics I would just dive right in, I find that sketching first works best for me with oils.
The following images walk through my recent painting "The Guardian".
 |
| Beginning color blocking on nose and eyes. |
 |
| Framing the eyes and the focus |
 |
| Making some minor corrections to the sketch during color blocking |
 |
| Completed color blocking, ready for detail work. |
Color blocking should be just that, blocking in color on your canvas, not details.
Here are a few examples of sketches and color blocking of some of my paintings in progress.
"Beaute Rouge":
"Beaute Rouge":
 |
| Sketch for Beaute Rouge |
 |
| Color blocking for Beaute Rouge |
This sketch took me about an hour. The color blocking is mostly as it should be, highlight and shadow patches roughed in. The eyelashes left in pencil until the very end of the painting process to allow for easier makeup blending and shading.
Here is a walk through of "Joy":
 |
| Beginning sketch. (I hate hands) |
 |
| beginning the color blocking process and not really liking it. |
 |
| Drastic changes to the work during color blocking led to this |
You'll notice in most pictures you can see I am a HUGE fan of Palette Paper . It makes clean up absolutely simple. I also work mainly on my french easel. The drawer makes a good shelf for my palette and it is wonderfully portable.
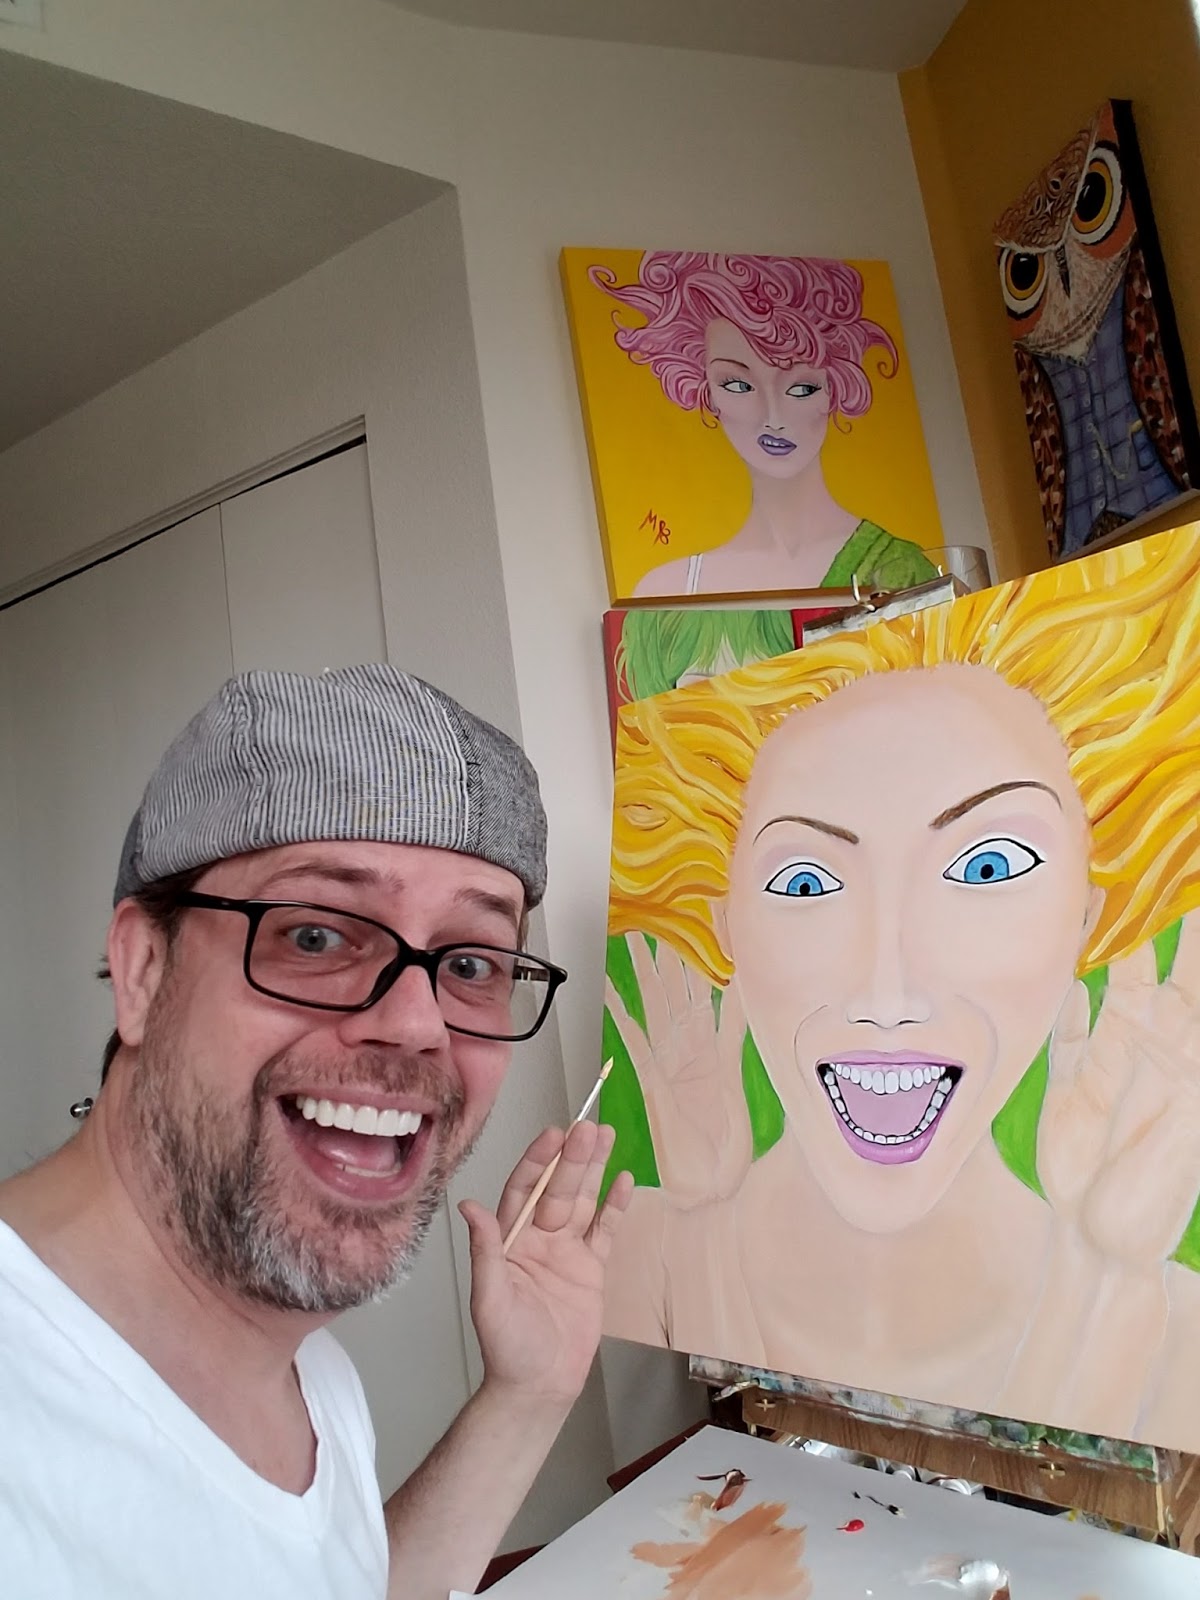
Here is a walk through of "Gasp!"
 |
| My first facial expression sketch. |
 |
| Color blocking completed |
 |
| Detailing. |
As I continue through my oil painting learning curve I'll continue this blog. Primarily as a record for myself, but hopefully it will also inspire or help some beginning artist who got lost on the internet and stumbled upon this blog by accident but stayed anyhow to read an article or two.
I've discovered, that at least for me, sketching my idea first and color blocking it in makes my artwork more closely reflect my vision. I also find it necessary at this point to my process.
Thanks for reading!
No comments:
Post a Comment
Thank you for reading!
When commenting please remain respectful.